Masterclass : 110kV Cable Preparation & Termination Using Prysmian Outdoor Sealing Ends
Published 02 Mar 2020
 uploaded by Chris Dodds – Sales Marketing Manager at Thore & Derrick
We are highly privileged and grateful to Andrew Brezovszky (EHV Cable Jointer at Matrix Power Solution Pty Ltd) for contributing again to our PhotoBlog.
Andrew is an international class HV Cable Jointer with over 20 years of experience in an extensive range of HV Joints and Cable Terminations across various countries in Europe, New Zealand and Australia.
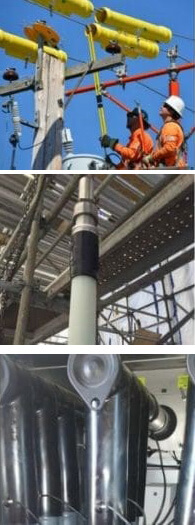
The following sequence of site photographs and commentary provided by Andrew details the stages of cable installation, preparation and termination using EHV Outdoor Sealing Ends – work was completed on a normal 8 hour/day basis over 5 days with an additional day to install sheath bonding cables and linkbox.
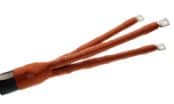
Cable Specification : 110kv XLPE Taihan Cable with 1600sqmm Milliken copper conductor and corrugated copper sheath.
Outdoor Sealing End (Termination) Manufacturer : Prysmian.

Prysmian |Cable Joints | Terminations | Cleats | Connectors
Getting Started
Temporary cable caps are wiped-on to protect the 110kV cable from moisture.
Getting Cleated
Standing and cleating cables is next.
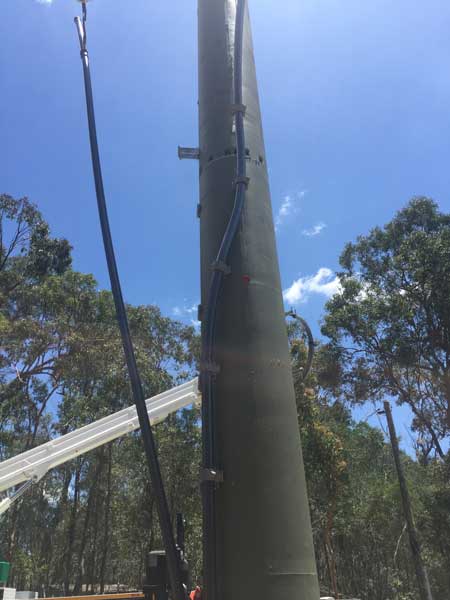
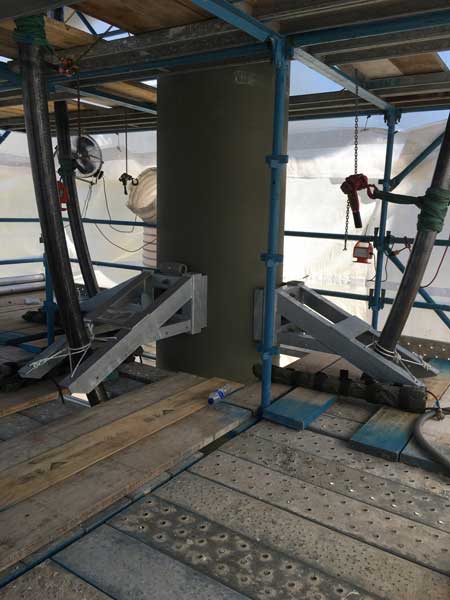
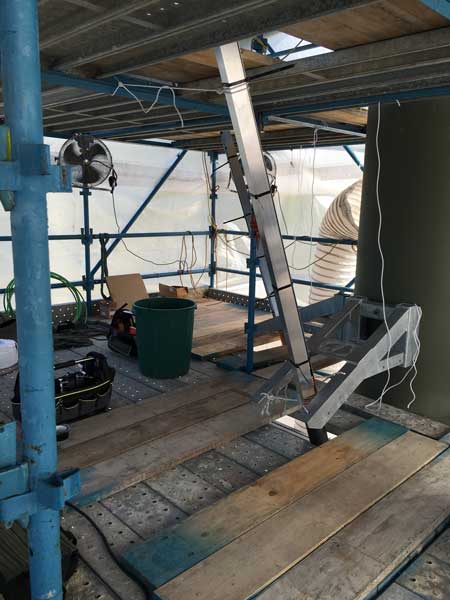
Scaffolding Erected
The scaffold is built which will house our jointing team for a week. We have a generator to power the site and a mobile aircon to control temperature and humidity.
Here’s a shot from the inside before we start cable jointing.
Straightening Cables
Removing the copper sheath is next and installing the cable heating and straightening blankets. The duration is always as recommended by the high voltage cable manufacturer but it also depends upon cable outside diameters.
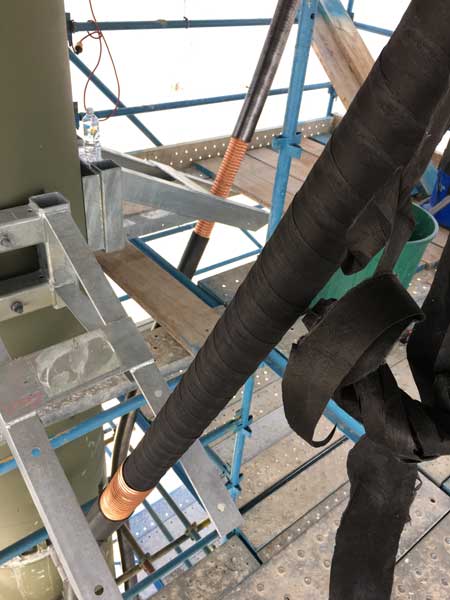
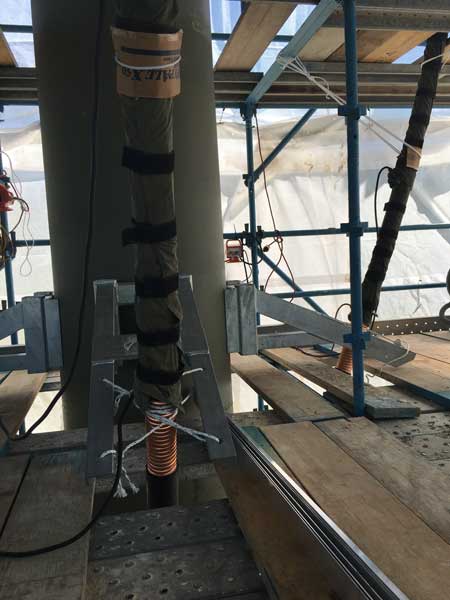
Cable straightening is a very important stage of the cable installation prior to preparation and cable termination.
Preparing the aluminium glands so they can be plumbed on. We also ‘preload ‘ them, to shorten the time the cable is under heat stress. This is very important, as the longer plumbing time can cause irreversible damage to the semiconducting layer as well as the cable insulation.
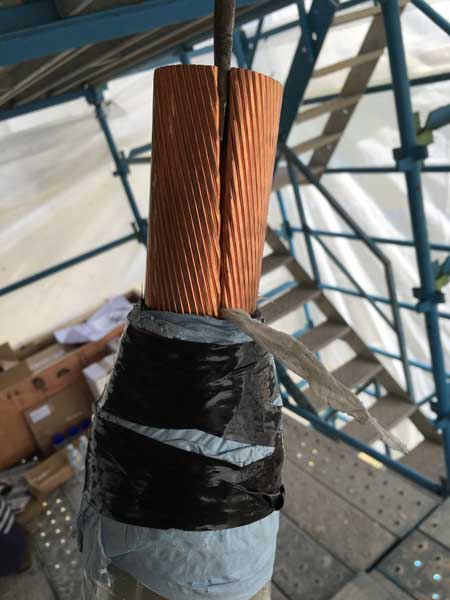
Stripping Off
We strip our EHV cables with Alroc tools and cut the chamfers with glass. Old school, labour intensive, etc., I know. The corrugated sheath is scored circumferentially then pulled off. The semiconductor layer and insulation is peeled off with Alroc stripping tools.
Sand & Polish Cables
This is followed by lots of sanding and polishing. Both manual techniques and machine tooling including orbital sanders and linichers are used to achieve this finish.
It is very important to prepare the conductor properly.
Cable Crimping Preparation
Crimping guide block – the cable crimping sequence is important.
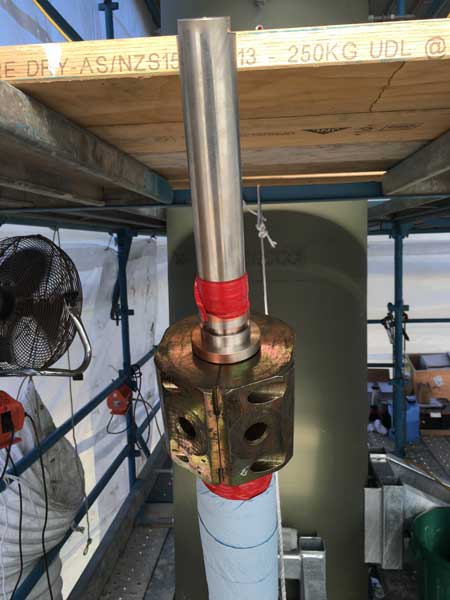
Crimping complete using ram/Milliken style crimping head with basic Ryken hydraulic pump.
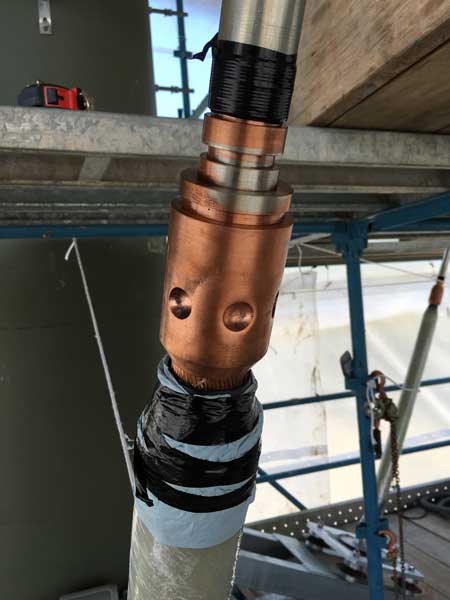
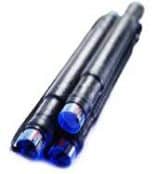
Stress control installed. Removing the semi-conducting screen and installing the premoulded cable joint sleeve or sealing end sleeve is a critical stage of jointing 110kV cables.
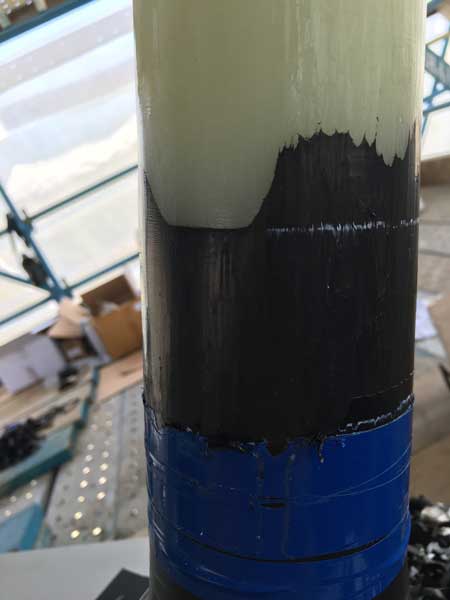
Taping Time
Jointing tapes are next.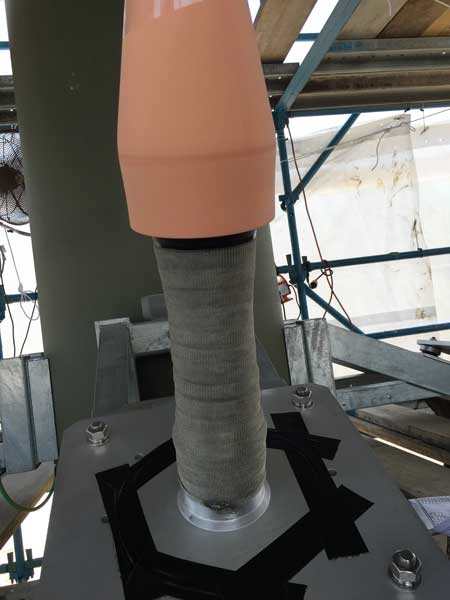
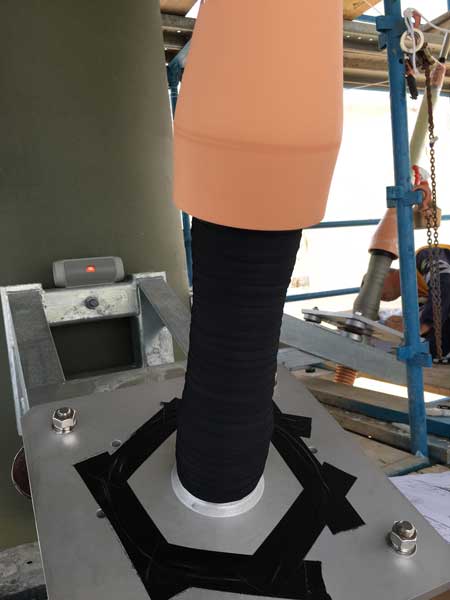
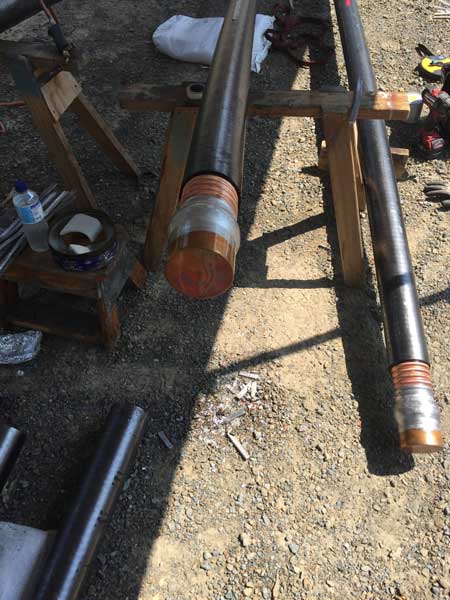
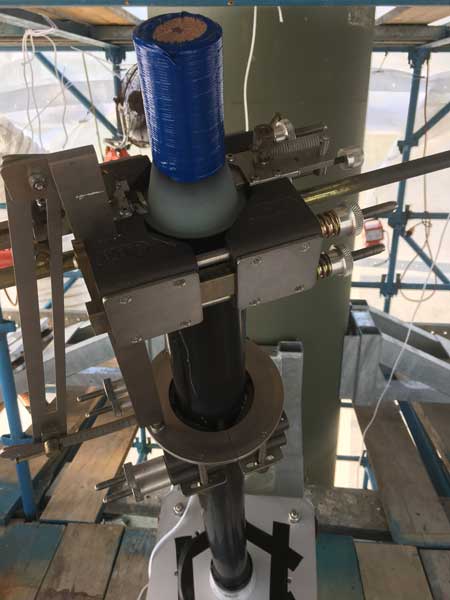
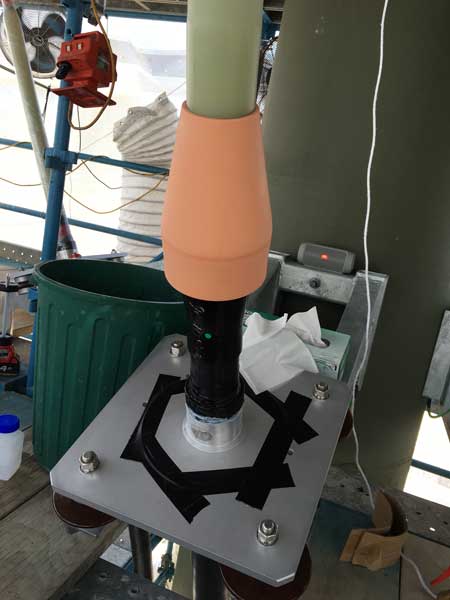
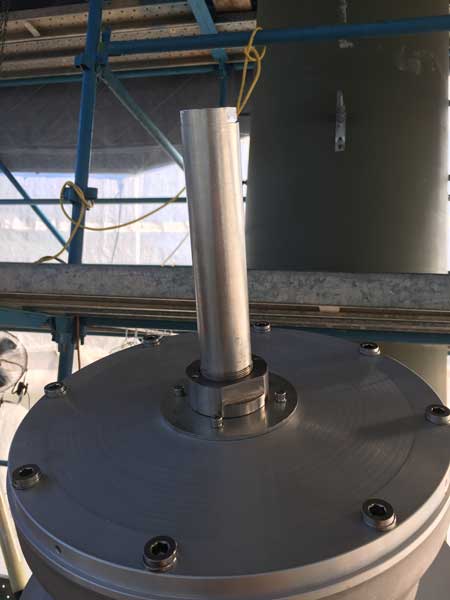
Insulator is lowered onto the cable.
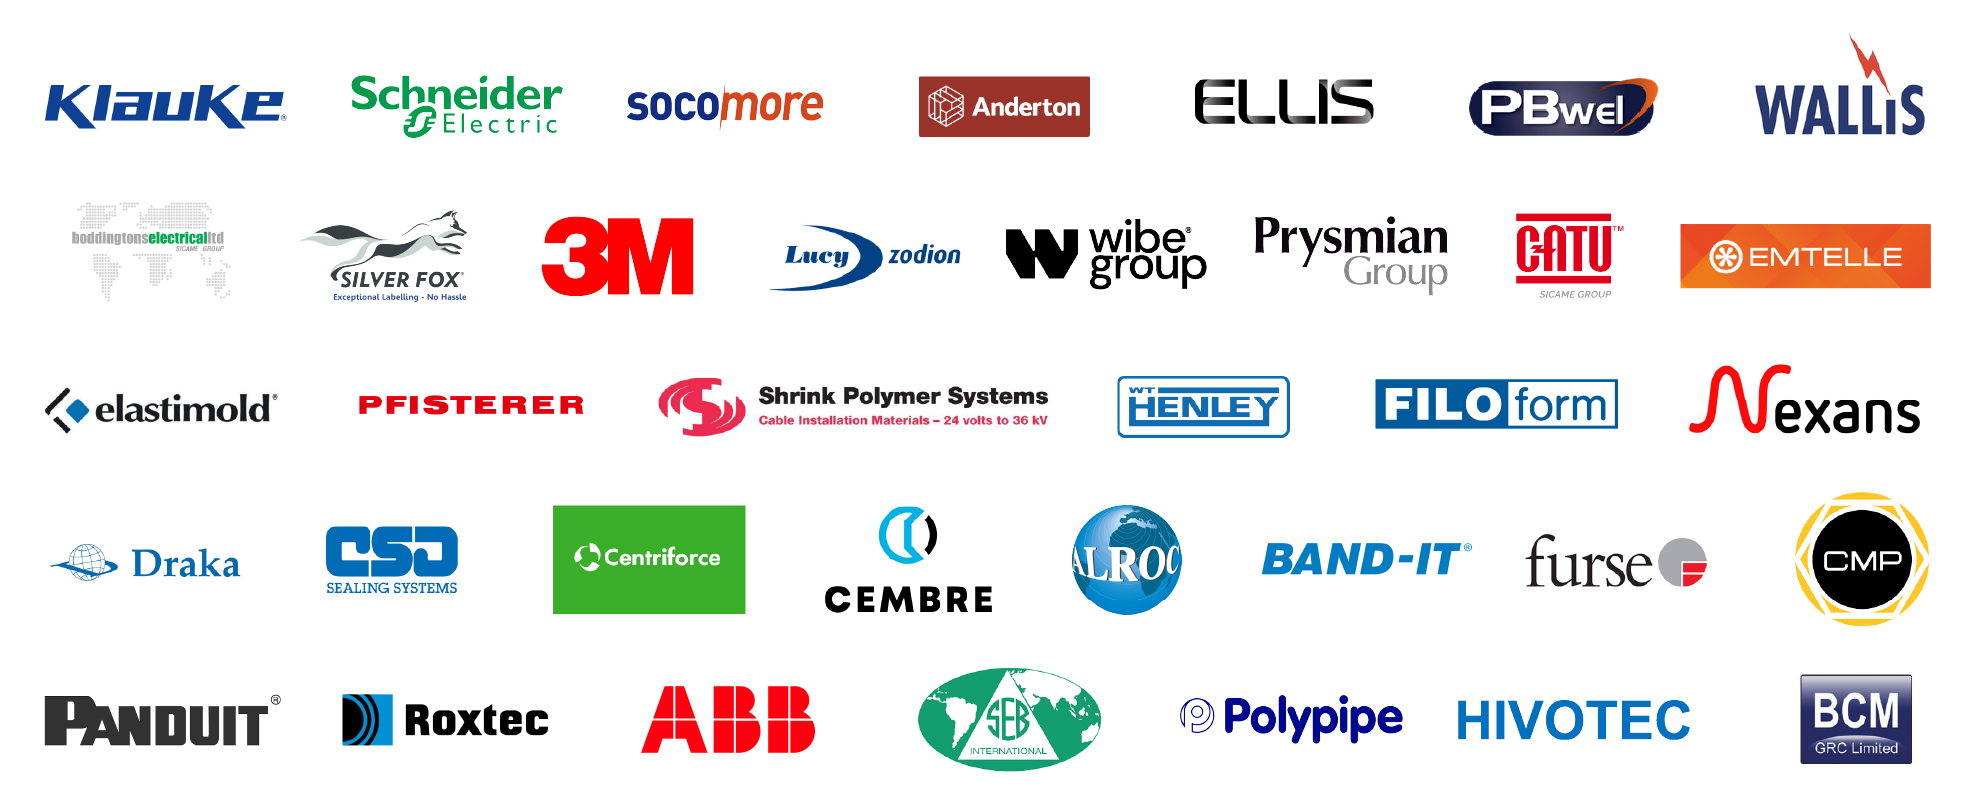
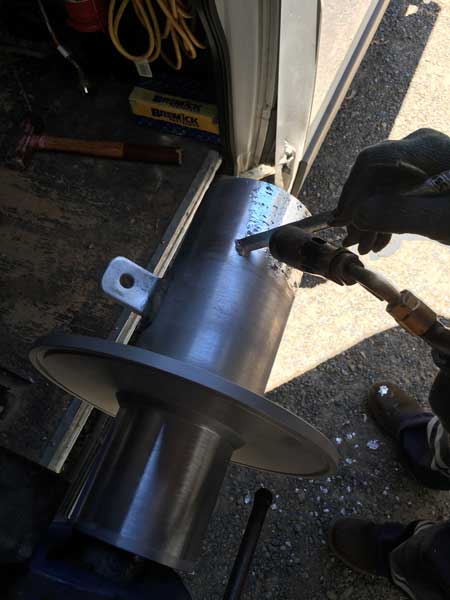
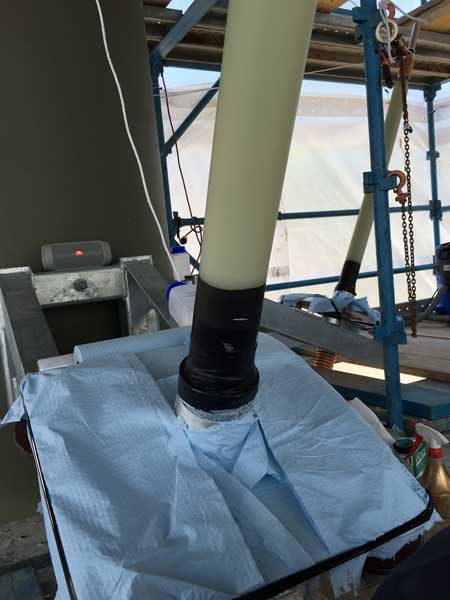
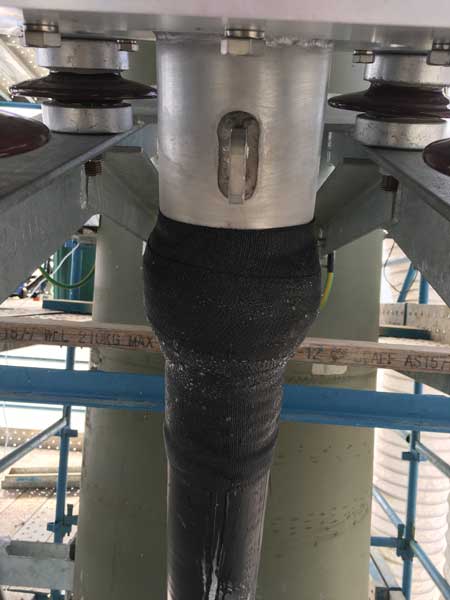
Plumb
Plumbing completed.
Armour tape used to reinforce the wipe and cable sheath.
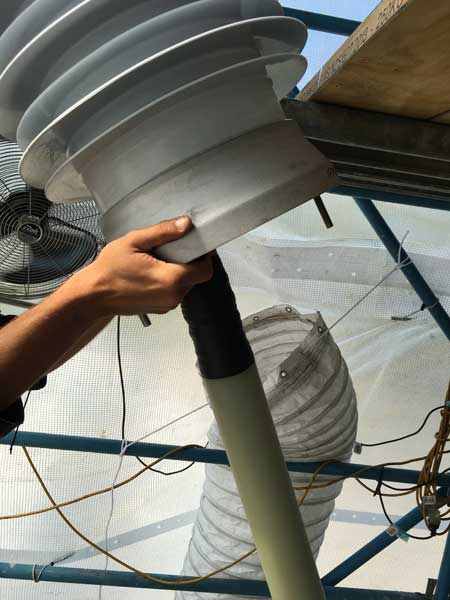
The insulator is then filled with special silicone oil to a specific level and the top arrangements are installed.
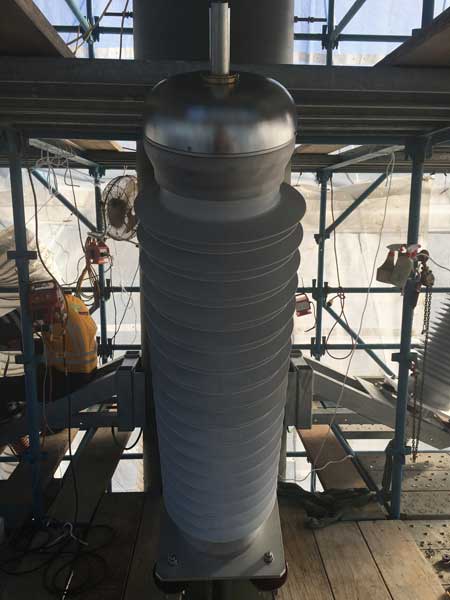
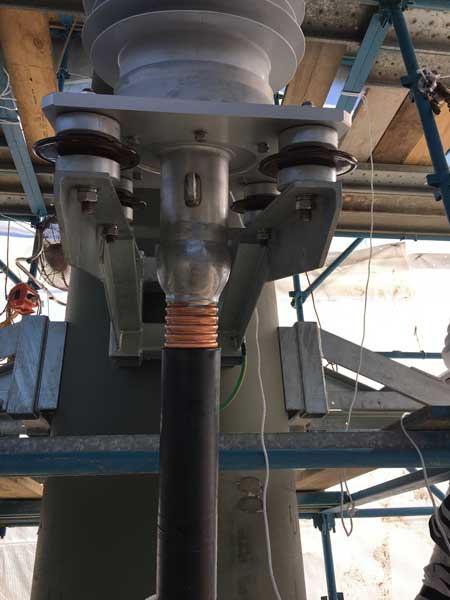
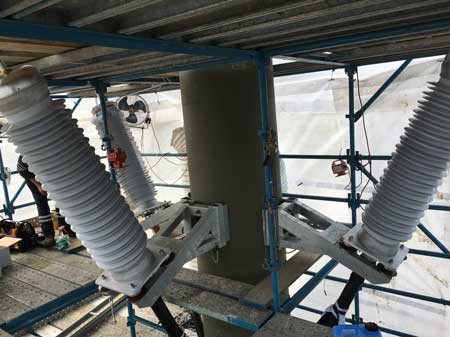
Completed installation of 110kV Prysmian Outdoor Sealing Ends to Taihan Cable.
![]()
Jointers blog
Subscribe now to our POWER NEWSLETTER– a monthly email circulation packed with news, projects, videos, technical tips, training information, promotions, webinars, career opportunities and white papers.
Includes access to our popular JOINTERS BLOG with contributions from utility professionals, linesmen and cable jointers working on MV HV EHV cables and overhead lines typically at 11kV, 33kV, 66kV and up to 132kV.
15,000+ Subscribers. ➡